Kyle Cordes
Oasis Digital Solutions Inc.
August 2003
 |
The third version for the Pocket PC runs under the .NET Compact Framework, which installs with a couple of clicks on Pocket PC 2002, and is reinstalled on future Pocket PC versions / models based on "Windows CE.NET". This worked sufficiently well to develop in to a working, deployed application; these screenshots are from an early beta version of that application, before some layout changes and branding changes. It takes a few second for the application to load, during which this a splash screen can be displayed, preferably with a company logo instead of just the text shown here. In compliance with the Pocket PC logo application guidelines, the app always displays only its name in the title bar, not any kind of status or progress indicator. |
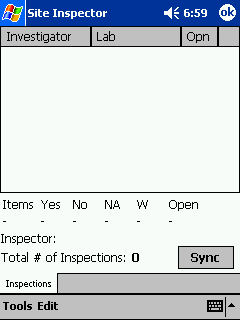 |
Once the application is loaded, it looks and "feels" (in terms of responsiveness) like a native Pocket PC application. This is the main screen of the application, before any data is loaded in to it. The default appearance of the Compact Framework controls is functional and readable, but not particularly appealing; at some point I'd like to look around at various successful commercial Pocket PC applications for ideas on how button, labels, etc. can be colored for a more interesting look. |
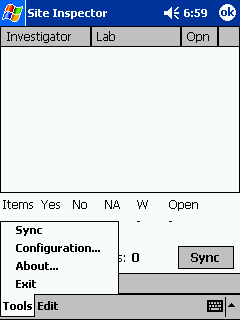 |
The user clicks "Sync", either on the main screen or on the menu. The syncronization process works using the Pocket PC network capabilities - so it will work when the device is in its cradle, and can also work, with no software change, over a wireless LAN, Bluetooth, etc.
|
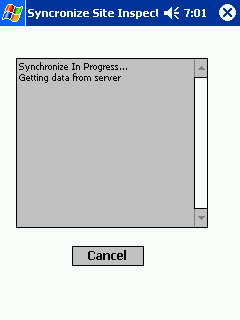 |
This screen shows the sync in progress. This is a screen shot from an older version; the final version does not show the extra word in the title bar. |
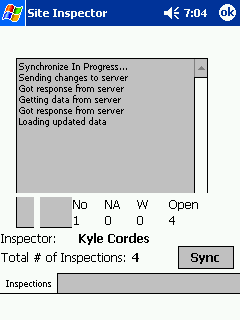 |
As the sync proceeeds, the user can see the progress log. The half-drawn screen here is the result of a problem with the screen capture; it does not occur when using the device. |
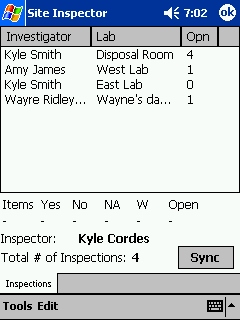 |
Now that the data has been populated, the user can choose a site/lab to inspect. |
 |
Once the yser selects a site to inspect, they see statistics about the selected site, and get new navigation options (the tabs across the bottom).
|
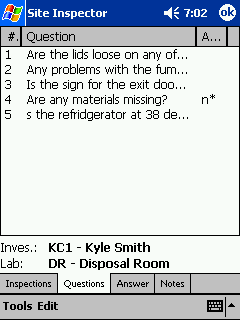 |
By tapping the Questions tab, the user gets a list of questions to answer for the selected site. At the bottom of the screen, the current site information is displayed. |
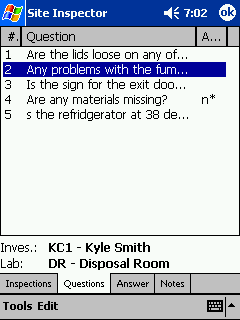 |
The user can select a question on the Question List, to move quickly through the list of questions and select the one they want. If needed, a scroll bar appears on the right to navigate through the list.
|
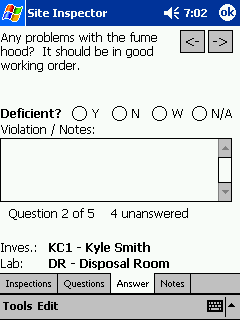 |
By switching to the Answer tab, the user can read a question, select a response, enter note text, navigate forward and backward, etc. Using the forward/backware navigation, the user won't need to manually select each question. |
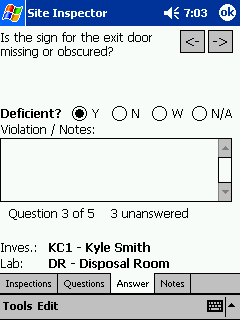 |
Here, the user selected a Y answer. The screen might benefit custom, more highly visible controls. |
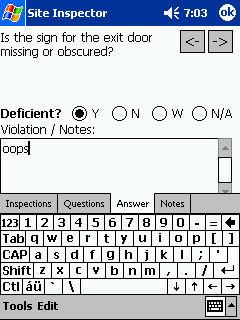 |
In this case, a violation is found. The user used the SIP "Soft Input Panel" to type the text. This screen was arranged carefully to allow for the screen space used by the SIP. With the SIP in place, the most important data on the screen is still visible: the text entry field, the question itself, and the navigation tabs. |
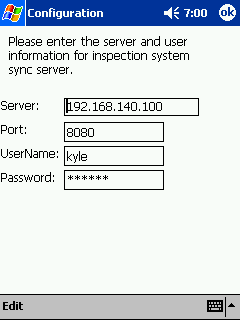 |
The configuration screen, accessed via the menu, lets the user specify what server to syncronize with. |
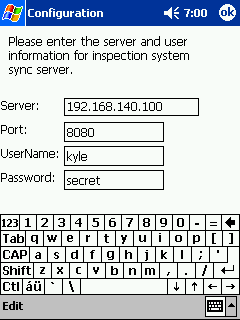 |
The configuration screen also accomodates the SIP, this time much more easily since all of the controls fit above it. For an application or screen where the user is likely to use the SIP frequently, Pocket PC applications should generally be designed to assumed only a 240x200 (approximate) application screen area. |
I'm working on a future article with a technical walkthough of the Compact Framework C# source code for this application.